

Introduction
Sound quality plays an important role in music production, podcasting, filmmaking, gaming, and content creation. Even the best recording can sound average if it is not mixed correctly. This is where sound mixing software becomes essential. Whether you are creating songs, editing podcasts, or improving voice recordings, the right software can completely transform your audio quality.
Today, beginners and professionals have access to powerful sound mixing tools that make editing easier than ever. Many software options include drag-and-drop functions, professional plugins, and user-friendly interfaces. As technology improves, even someone with limited experience can start producing professional-quality sound from home.
Choosing the right sound mixing software can feel confusing because there are so many options available. Some programs focus on music production, while others are ideal for podcasts or video editing. Understanding how these tools work can help you save time and improve results.
This guide will explain everything you need to know about sound mixing software. From understanding the basics to learning important features, benefits, risks, mistakes, and expert tips, this article will help you make informed decisions and improve your audio projects effectively.
What is Sound Mixing Software?
Sound mixing software is a digital program used to edit, arrange, improve, and combine audio tracks into a polished final product. It helps users control volume levels, remove background noise, add effects, and improve overall sound quality.
Most sound mixing software works as a Digital Audio Workstation (DAW). A DAW allows users to record audio, edit sound clips, mix multiple tracks, and export professional-quality audio files.
For example, if someone records vocals and instruments separately, sound mixing software helps combine them into one smooth and balanced recording.
Popular examples of sound mixing software include:
- Adobe Audition
- FL Studio
- Logic Pro
- Ableton Live
- Pro Tools
- GarageBand
- Audacity
Each software has unique features depending on the user’s goals and skill level.
Why is Sound Mixing Software Important?
Sound mixing software is important because it improves the listening experience. Poor sound quality can make videos, podcasts, or music sound unprofessional.
Here are several reasons why it matters:
Better Audio Quality
Good software helps improve clarity, remove unwanted noise, and create balanced sound.
Professional Results
Whether you are a musician or content creator, polished audio creates a stronger impression.
Greater Creative Control
Users can experiment with sound effects, equalizers, and instruments to achieve their desired style.
Time Efficiency
Modern sound mixing software speeds up editing and reduces manual work.
Multi-Purpose Use
It can be used for:
- Music production
- Podcast editing
- Video sound design
- Gaming audio
- Voice-over recording
- Radio production
Without proper mixing, even high-quality recordings may sound dull or messy.
Detailed Step-by-Step Guide
Step 1: Choose the Right Sound Mixing Software
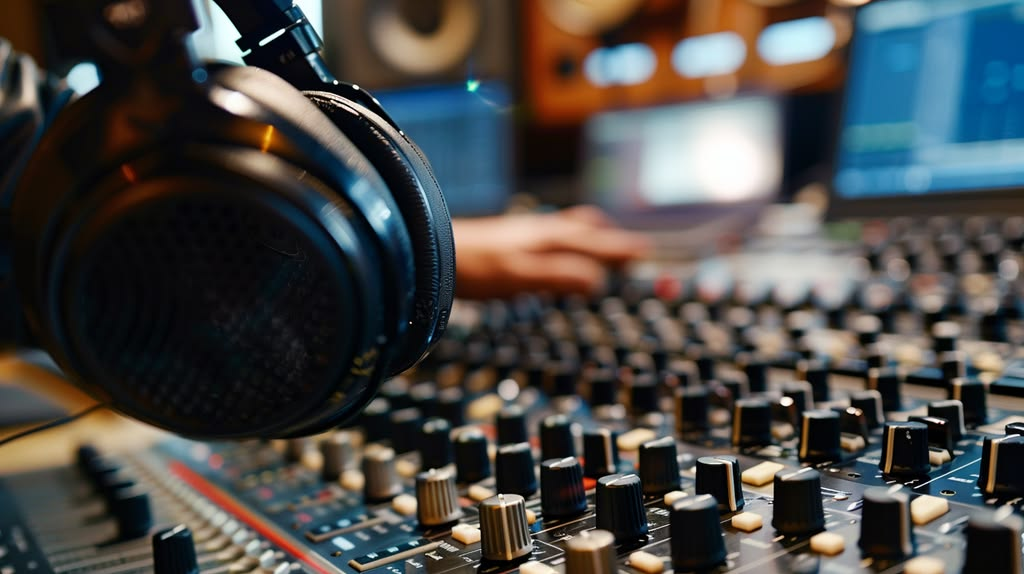
The first step is selecting software based on your needs and skill level.
For beginners:
- GarageBand
- Audacity
- FL Studio Beginner Version
For intermediate users:
- Ableton Live
- Adobe Audition
- Logic Pro
Before deciding, compare features, pricing, and compatibility.
Step 2: Install and Set Up the Software
After choosing software:
- Download the program
- Install required drivers
- Connect audio devices
- Configure settings
Always check audio input and output devices before starting.
Step 3: Import or Record Audio
Most sound mixing software allows users to:
- Record directly through microphones
- Import music files
- Add sound effects
Good recordings lead to better mixing results.
Step 4: Organize Audio Tracks
Arrange recordings properly by naming files clearly.
Examples include:
- Vocals
- Drums
- Background Music
- Sound Effects
Organization makes editing easier.
Step 5: Adjust Volume Levels
Balancing sound levels is essential.
Avoid making one sound louder than others unless needed for emphasis.
The goal is to create smooth listening without distortion.
Step 6: Use Equalization (EQ)
EQ helps adjust frequencies.
Examples:
- Increase bass for deeper sound
- Reduce harsh frequencies
- Improve vocal clarity
Using EQ correctly makes audio cleaner.
Step 7: Add Effects
Many sound mixing software programs include built-in effects.
Common options include:
- Reverb
- Compression
- Delay
- Echo
Effects should improve sound naturally rather than overpower it.
Step 8: Remove Noise
Background sounds can damage audio quality.
Use noise reduction tools to remove:
- Hissing
- Buzzing
- Wind noise
Clean audio sounds more professional.
Step 9: Test the Mix
Always listen to audio multiple times.
Use:
- Headphones
- Speakers
- Different devices
This helps identify issues.
Step 10: Export the Final File
After editing:
- Choose file format
- Set quality settings
- Export audio
Popular formats include MP3 and WAV.
Benefits of Sound Mixing Software
Using sound mixing software offers several advantages:
- Improves overall sound quality
- Reduces unwanted background noise
- Allows professional-level editing
- Saves time during production
- Supports multiple audio formats
- Enhances creativity with effects
- Makes home production possible
- Improves podcast clarity
- Helps musicians create polished tracks
- Provides better audience experience
For example, a podcaster can improve voice clarity and remove distractions using proper tools.
Disadvantages / Risks
Although sound mixing software is useful, there are some challenges:
- Some programs are expensive
- Beginners may feel overwhelmed
- High system requirements can slow computers
- Poor editing can reduce sound quality
- Too many effects may ruin audio
- Learning advanced tools takes time
Choosing the wrong software can also waste money and effort.
Common Mistakes to Avoid
Many beginners make mistakes while using sound mixing software.
Ignoring Audio Quality
Starting with low-quality recordings makes mixing difficult.
Always use decent microphones.
Overusing Effects
Too much reverb or echo can ruin clarity.
Less is often better.
Skipping EQ Settings
Ignoring equalization can make audio sound flat.
Spend time adjusting frequencies.
Not Saving Projects
Unexpected crashes can lead to lost work.
Save files regularly.
Using Incorrect Export Settings
Wrong settings may reduce sound quality.
Always check export format.
Not Testing Final Audio
Audio may sound different across devices.
Test before publishing.
FAQs
1. What is the best sound mixing software for beginners?
GarageBand and Audacity are excellent for beginners because they are easy to use and affordable.
They include essential editing features without overwhelming users.
2. Is free sound mixing software good enough?
Yes, some free programs provide impressive features.
Audacity is a popular free option for editing and improving audio.
However, advanced professionals may need paid software.
3. How long does it take to learn sound mixing?
Basic skills can be learned within a few weeks.
Advanced techniques may take months or years of practice.
Regular use helps speed learning.
4. Can sound mixing software improve poor recordings?
Yes, to some extent.
It can reduce noise and improve balance, but very poor recordings may still sound weak.
Starting with quality recordings is always better.
5. Which computer is best for sound mixing?
A computer with good RAM, storage, and processing power works best.
Fast performance prevents lag during editing.
6. Is sound mixing software only for musicians?
No.
Many professionals use it, including:
- Podcasters
- Video editors
- Content creators
- Filmmakers
- Game developers
Anyone working with audio can benefit.
Expert Tips & Bonus Points
If you want better results from sound mixing software, follow these expert tips:
Use Headphones for Accuracy
Good headphones help hear details clearly.
This improves editing decisions.
Learn Keyboard Shortcuts
Shortcuts speed up editing and save time.
Most software includes helpful commands.
Practice Every Week
Regular practice improves confidence and editing quality.
Even short sessions help.
Start with Presets
Presets provide ready-made sound settings.
Beginners can learn by adjusting them slowly.
Avoid Clipping
Audio clipping causes distortion.
Keep volume levels balanced.
Watch Tutorials
Learning from professionals helps improve faster.
Study different mixing styles for inspiration.
Keep Projects Organized
Create folders for:
- Audio files
- Effects
- Exports
This prevents confusion.
Upgrade Gradually
Do not buy expensive software immediately.
Start simple and upgrade later.
Conclusion
Sound mixing software has changed how people create and edit audio. What once required expensive studio equipment can now be done from home using a computer and the right tools. Whether you are producing music, editing podcasts, or improving voice recordings, good software makes a major difference in audio quality.
For beginners, starting with user-friendly programs is often the best approach. As skills improve, more advanced software can unlock professional features and creative possibilities. Learning proper techniques such as balancing sound, using EQ, reducing noise, and avoiding common mistakes helps users create polished and engaging audio projects.
Although there may be challenges like learning curves or software costs, the long-term benefits are often worth the effort. Better sound quality can improve audience experience, strengthen content, and increase confidence in creative work.
The key to success is consistent practice. Explore features, test effects carefully, and learn from experience. With patience and the right sound mixing software, anyone can produce cleaner, more professional audio and bring creative ideas to life effectively.